Have to Watch the Whole Yunalesca Scene Again?
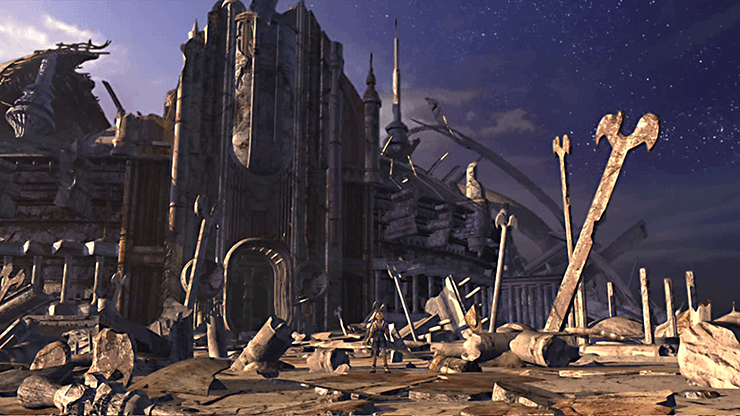
Zanarkand Ruins
Walkthrough
The Zanarkand Ruins portion of the game takes place after you take scaled Mt. Gagazet and traversed through its network of caves. Your get-go visit to the ruins is much earlier on in the game. Caput over to the Ruins walkthrough page if you navigated too far forward in the guide by mistake.
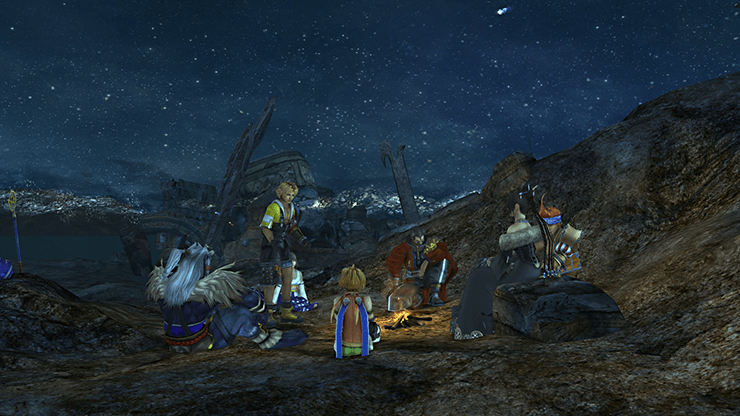
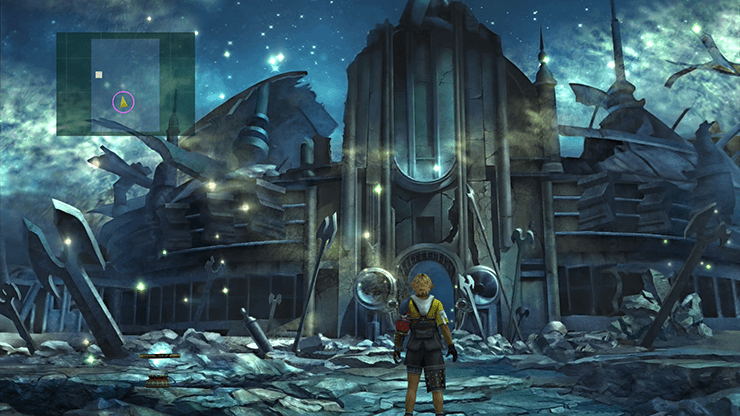
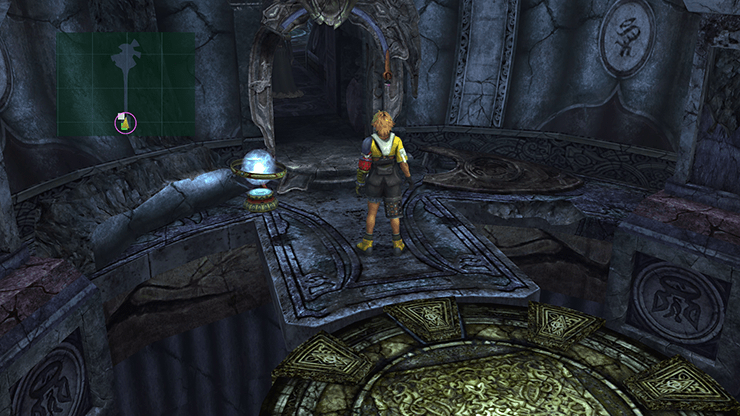
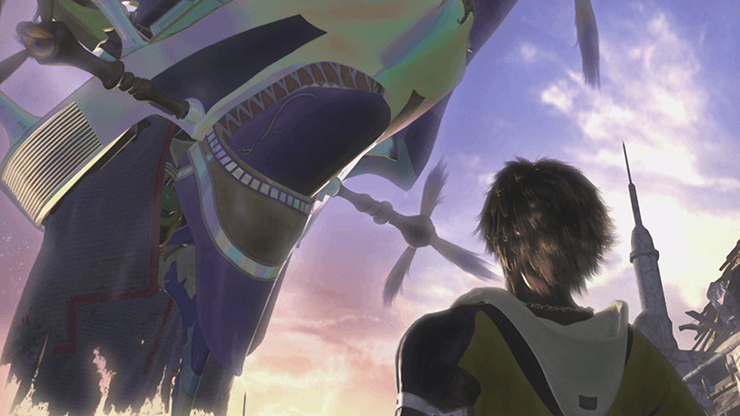
The game picks support at the fire pit which is the same location where the intro scenes to the game occur. Caput over to the Save Sphere and save your game earlier you follow the rest of your squad into the Zanarkand Ruins.
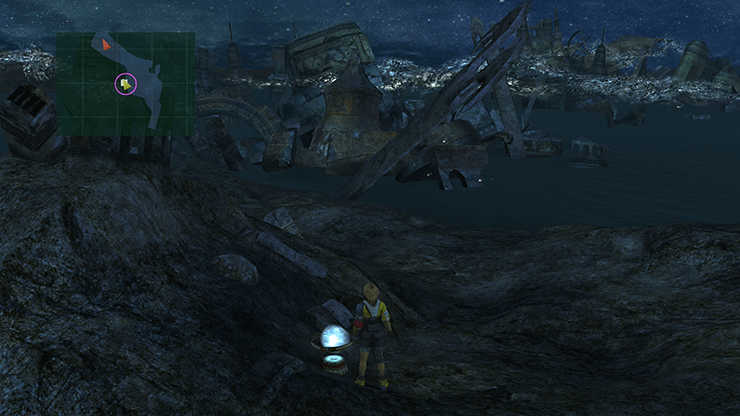
Zanarkand Ruins - Overpass
Follow the pathway along straight into Zanarkand. The pathway is fairly linear.
In that location is a treasure chest forth the fashion that contains a ![]() Fortune Sphere. The treasure chest is in the heart of the pathway so don't worry about missing information technology.
Fortune Sphere. The treasure chest is in the heart of the pathway so don't worry about missing information technology.
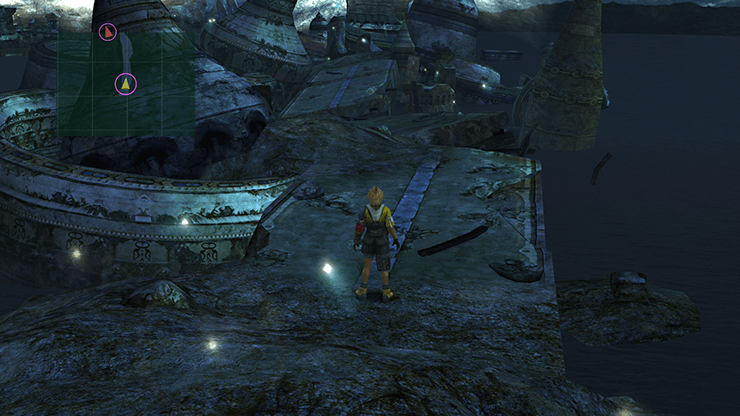
There is likewise a small platform/walkway fifty-fifty further on downwards the path with another treasure breast which contains a ![]() Spiritual Targe for Rikku.
Spiritual Targe for Rikku.
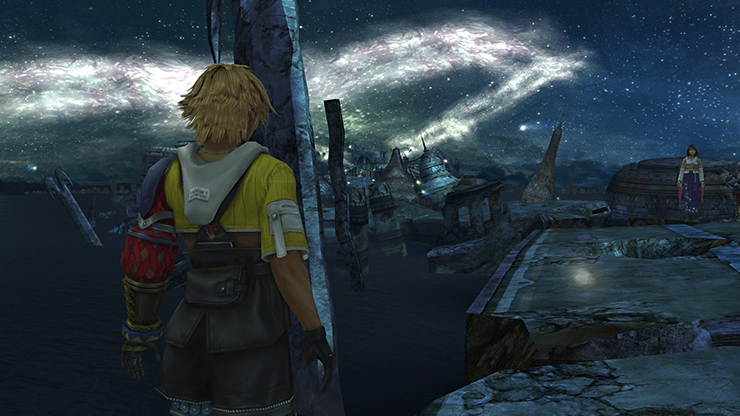
Dome
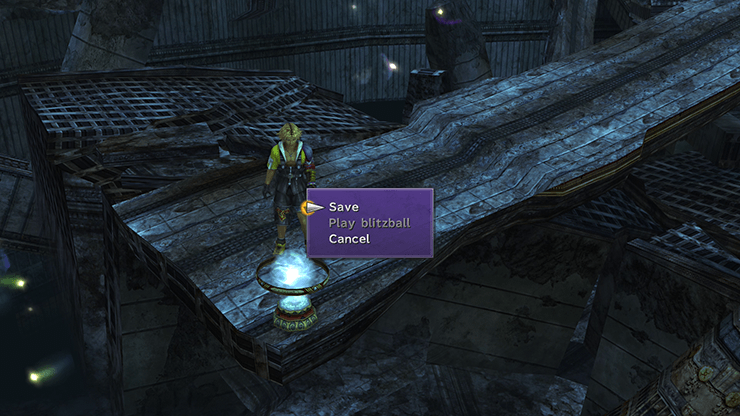
The archway to the Dome has a Relieve Sphere off to the left side. Save your game earlier you lot head in and then make your style towards the entrance.
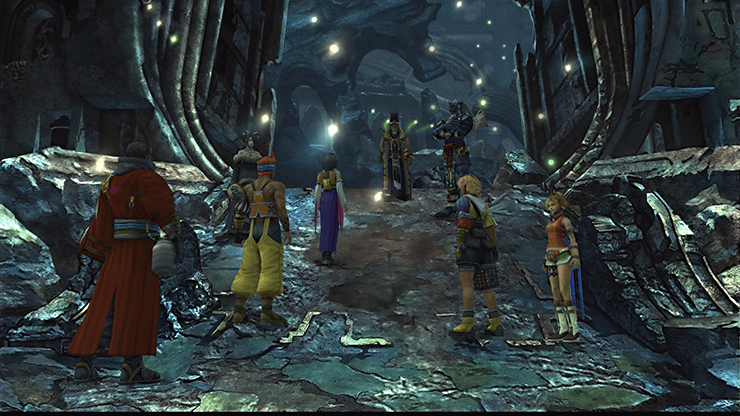
At that place is a curt cutscene involving a human at the forepart entrance speaking to Yuna. He will inquire Yuna her name and will welcome her and the team to Zanarkand. Proceed into the Dome after this scene.
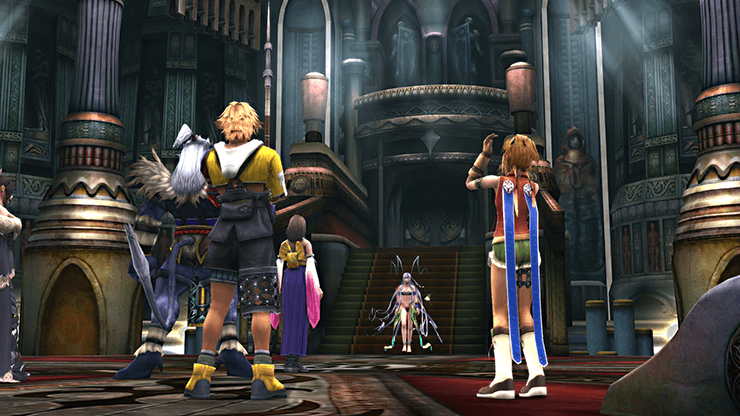
Dome - Interior
The squad volition get to witness some predecessor summoner's and guardian'due south spirits as they proceed in to the next area. There are enemies in this area called Fallen Monks that yous tin can employ a ![]() Phoenix Down on in guild to instantly kill them (although they are adequately piece of cake to defeat anyway).
Phoenix Down on in guild to instantly kill them (although they are adequately piece of cake to defeat anyway).
Move forward downwardly the pathway. Brand a U-turn once you lot come out of the other side of the tunnel and proceed along the upper pathway. Use the mini-map to help guide you through the surface area. There is a treasure chest at the height of the pathway that contains ten,000 gil.


Go on moving forward until you accomplish the next Save Sphere and salvage your game (you may see a treasure chest on the upper level but this tin can be ignored for now). Just past this surface area is a scene involving Seymour and his female parent.
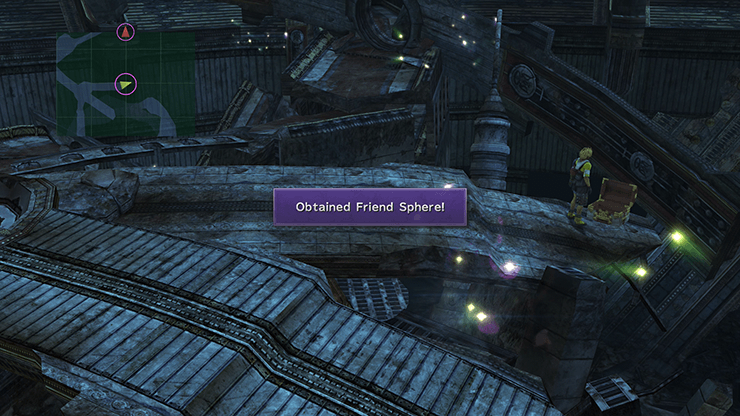
Go down the pathway to the correct (east) to find a treasure chest that contains a ![]() Friend Sphere.
Friend Sphere.
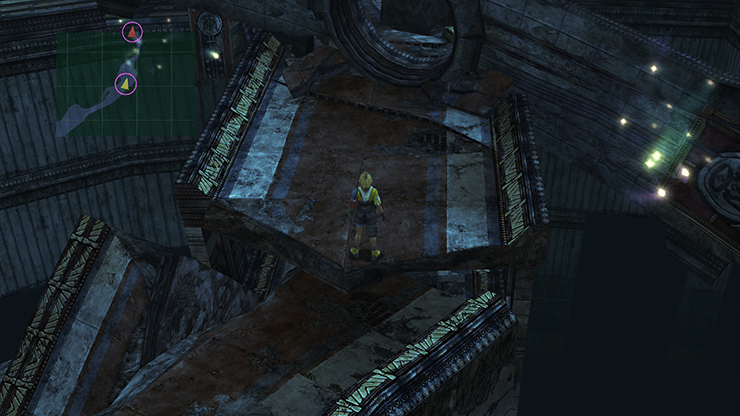
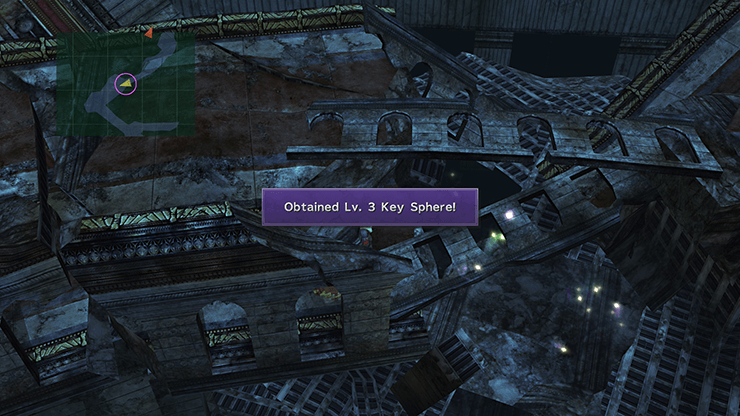
When you run into the image of Lord Braska, Auron and Jecht pass by make certain you plough around and follow the pathway down to the lower level. There is a treasure chest at the bottom of the path that contains a ![]() Lv. 3 Primal Sphere which is a fairly rare particular.
Lv. 3 Primal Sphere which is a fairly rare particular.
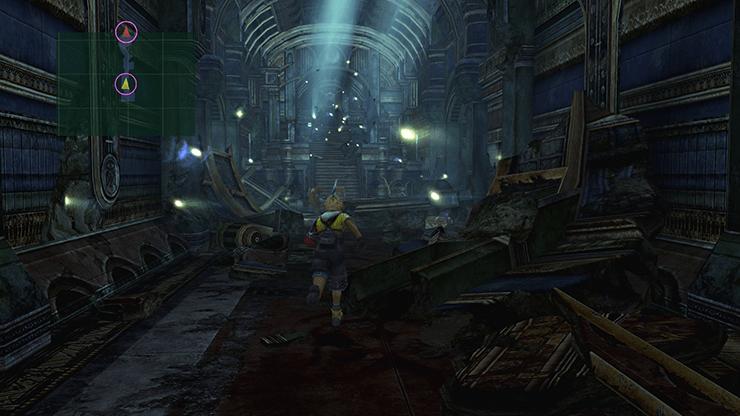
Dome - Corridor
Go through the doorway up ahead and into the next area (listed as the corridor on the menu screen). There is another treasure chest off to the right side that contains a ![]() Luck Sphere.
Luck Sphere.
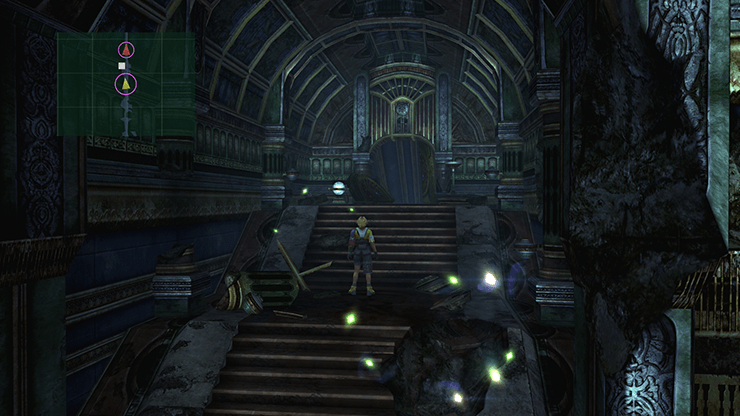
Follow the images of Lord Braska, Auron and Jecht up to the top of the stairs. Save your game using the Salve Sphere at the meridian of the stairs and and then go along into the Zanarkand Cloister of Trials.
Dome - Chamber of the Fayth
Before yous rush into the next area to confront Yunalesca, there is an upcoming boss fight which you may want to prepare for. You will non be dealing with the Berserk status result anymore (and then you can remove any armor you had on previously with ![]() Berserk Ward or
Berserk Ward or ![]() Berserkproof). Instead, y'all volition be dealing with the Darkness condition disquiet if your characters perform regular attacks and the Silence status ailment for magic casters.
Berserkproof). Instead, y'all volition be dealing with the Darkness condition disquiet if your characters perform regular attacks and the Silence status ailment for magic casters.
This means that you should equip whatsoever ![]() Bullheaded Ward or
Bullheaded Ward or ![]() Blindproof armor you have on your melee characters (Tidus, Auron, Wakka and Kimahri) and
Blindproof armor you have on your melee characters (Tidus, Auron, Wakka and Kimahri) and ![]() Silence Ward or
Silence Ward or ![]() Silenceproof armor on your magic casting characters (Yuna and Lulu).
Silenceproof armor on your magic casting characters (Yuna and Lulu).
Dome - Swell Hall
There is another cinematic in this room where the team will go to watch Lord Braska, Jecht and the younger version of Auron talk most breaking the cycle of Sin. Jecht will reassure Auron and Braska that he "volition recall of something".
Proceed in to the next room afterward the scene is over to face Yunalesca and begin the next boss fight.

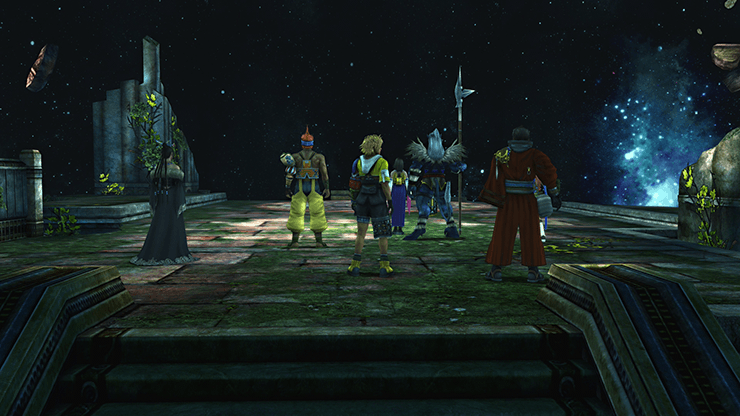
Dome - The Across
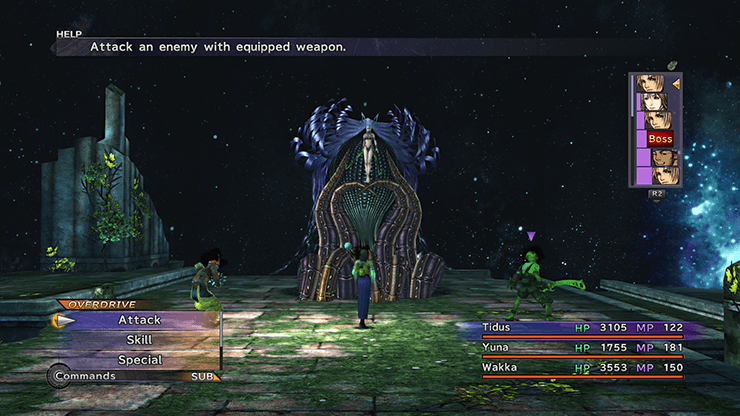
There are a few more lines of dialogue before the next boss battle begins.
There are three phases to the fight against Yunalesca and she will take three dissimilar forms during the course of the fight.
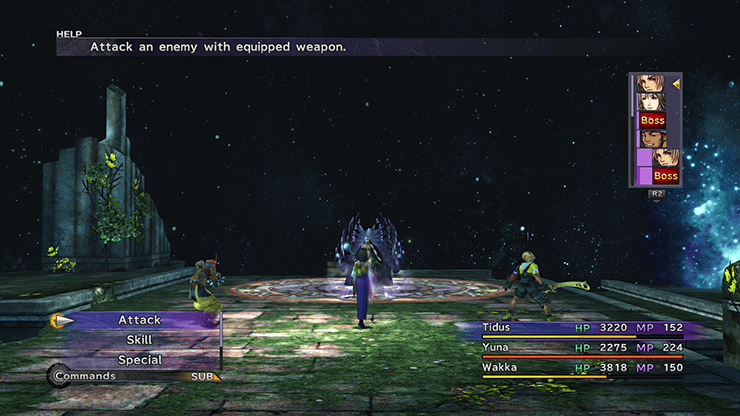
Phase ane:
Yunalesca has two counterattacks that she will use during phase 1. If you attack her with a physical assault she will counterattack that character past casting Blind on them. If you attack her with magic she will counterattack by casting Silence on that character.
You have 2 options: y'all tin apply Yuna's ![]() Esuna spell to rid yourself of these condition ailments or yous can use items to remove them (
Esuna spell to rid yourself of these condition ailments or yous can use items to remove them (![]() Eye Drops for Blind,
Eye Drops for Blind, ![]() Echo Screens for Silence or
Echo Screens for Silence or ![]() Remedy for either). You lot tin can too have Rikku utilise
Remedy for either). You lot tin can too have Rikku utilise ![]() Al Bhed Potions to remove the Silence condition event and do some healing at the same fourth dimension.
Al Bhed Potions to remove the Silence condition event and do some healing at the same fourth dimension.
HP: 24,000

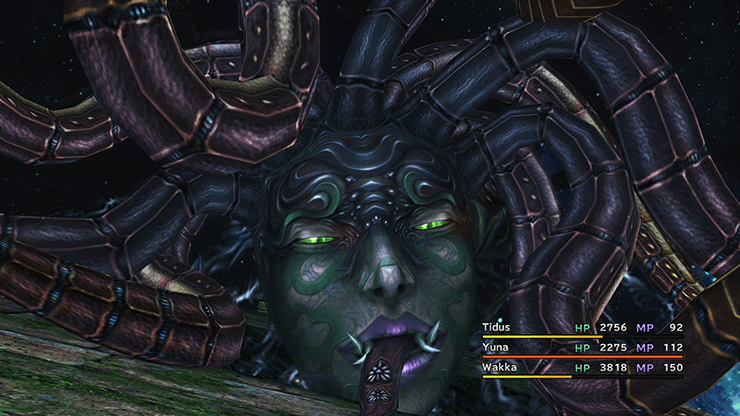
Phase 2:
Yunalesca will now use a move called Hellbiter during the second phase of the fight. Hellbiter will inflict the Zombie condition on all of your party members. Following this, Yunalesca will begin casting curative spells on your party which will inflict damage while the Zombie status effect is agile. Your ain healing spells and items will also crusade harm.
If you remove the Zombie condition effect from all of your party members Yunalesca will immediately reuse the Hellbiter spell, and then keep the Zombie status effect on at to the lowest degree one character at all times. Have Yuna use ![]() Esuna on a graphic symbol if you need to heal them. Have Yuna too bandage
Esuna on a graphic symbol if you need to heal them. Have Yuna too bandage ![]() Dispel if Yunalesca casts
Dispel if Yunalesca casts ![]() Regen on any of your party members.
Regen on any of your party members.
HP: 48,000

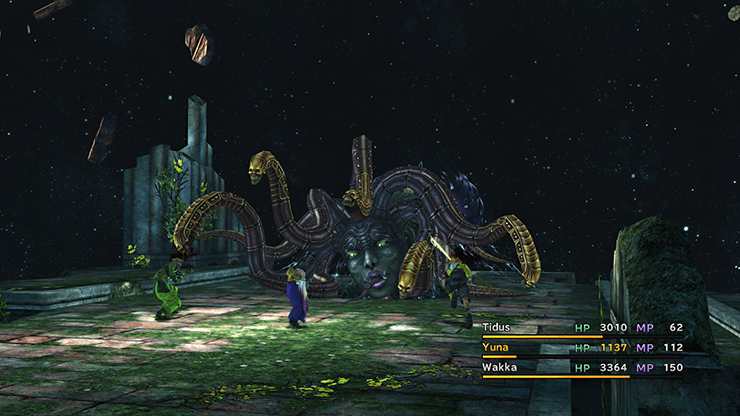
Phase three:
Yunalesca can now cast a spell called Mega Death. Mega Decease will instantly kill your characters unless they are affected with the Zombie status effect. This is another reason why you must keep Zombie active on at least one character at all times.
HP: lx,000
Additional notes and strategies:
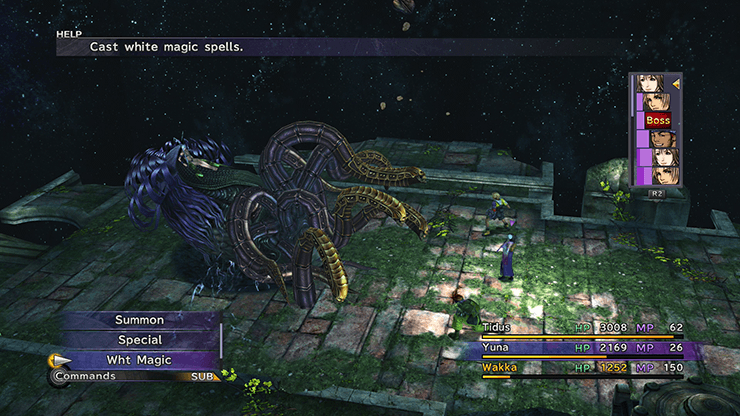
![]() Holy magic is incredibly powerful against Yunalesca and you will likely require Yuna in your political party for
Holy magic is incredibly powerful against Yunalesca and you will likely require Yuna in your political party for ![]() Dispels and healing. Have Yuna blast abroad at Yunalesca with this spell (if she has it) to brand the fight much easier.
Dispels and healing. Have Yuna blast abroad at Yunalesca with this spell (if she has it) to brand the fight much easier.
You tin can easily have Yuna (or Rikku) learn to cast ![]() Holy at this point in the game by using a
Holy at this point in the game by using a ![]() Teleport Sphere or a
Teleport Sphere or a ![]() Return Sphere and a
Return Sphere and a ![]() Lv. three Fundamental Sphere. Rikku's standard path goes right by Holy as shown in the screenshot below:
Lv. three Fundamental Sphere. Rikku's standard path goes right by Holy as shown in the screenshot below:
Use Yuna'southward ![]() Reflect spell on your characters to reflect the status ailments back to her during the beginning round and to reflect
Reflect spell on your characters to reflect the status ailments back to her during the beginning round and to reflect ![]() Regen back to her in the second round. Just exist enlightened that you will desire to have Yuna cast
Regen back to her in the second round. Just exist enlightened that you will desire to have Yuna cast ![]() Dispel on Yunalesca if she casts Regen on herself so that she does not heal herself for too much HP.
Dispel on Yunalesca if she casts Regen on herself so that she does not heal herself for too much HP.
Yunalesca volition use a motion chosen Punch which will remove all positive status effects with the exception of ![]() Reflect, which makes Reflect an incredibly powerful tool during this fight. You volition desire to cast it on Yuna to make sure that she cannot be silenced during the fight.
Reflect, which makes Reflect an incredibly powerful tool during this fight. You volition desire to cast it on Yuna to make sure that she cannot be silenced during the fight.
Equip your characters with armor that has abilities for negating Silence, Darkness and Misfile, but exist cautious about negating the Zombie status effect. You will desire to proceed Zombie on at least 1 of your characters.
Steal:
![]() Stamina Tablet (common)
Stamina Tablet (common)
![]() Farplane Wind (rare)
Farplane Wind (rare)
Drops:
![]() Lv. 3 Key Sphere
Lv. 3 Key Sphere
Yunalesca will talk to the team one more time before she dies. She will explain that there is no fashion to summon the Terminal Aeon without her. She will complaining for Zaon as she passes and the team will consider what to do next. You lot will regain control of Tidus in the center of "The Beyond" room.
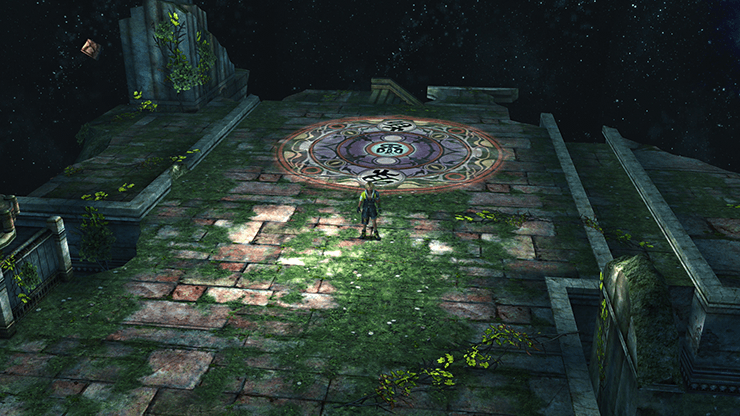
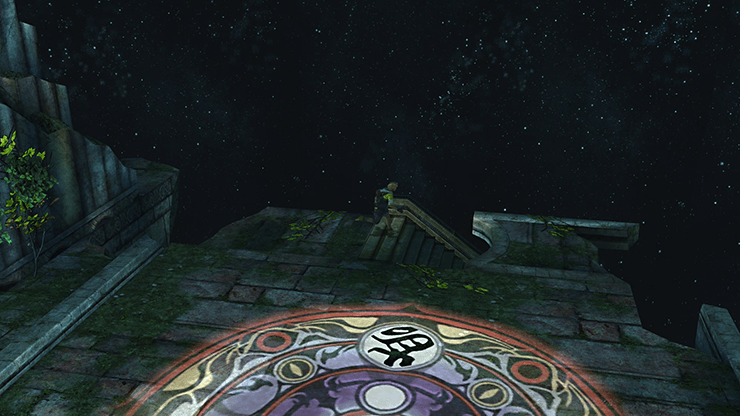
Go to the back of the area where you lot fought Yunalesca and descend the stairs that atomic number 82 downward at the dorsum of the room. You will be teleported to the other set of stairs on the opposite side of the room.
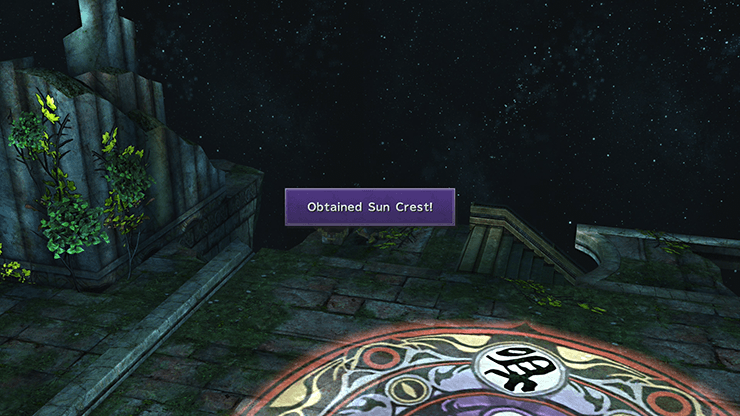
You lot must consummate the step listed above in order to make a treasure breast appear at the back of the room almost that same set of stairs. Open up the treasure chest to pick up the ![]() Dominicus Crest which is used to create Tidus' Celestial Weapon chosen
Dominicus Crest which is used to create Tidus' Celestial Weapon chosen ![]() Caladbolg.
Caladbolg.
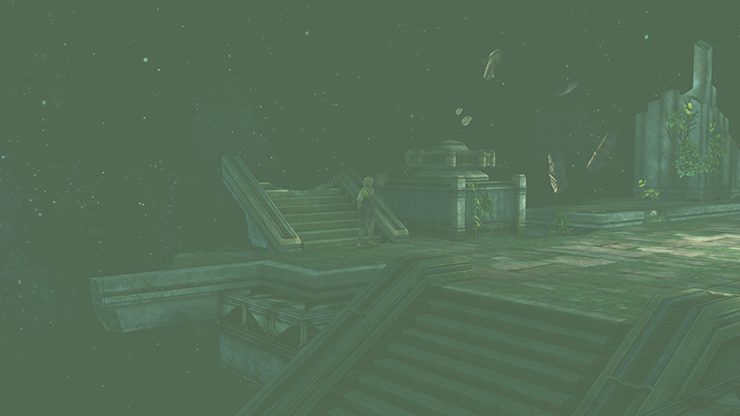
You must pick up that ![]() Sun Crest now. A Dark Aeon will appear in Yunalesca's place once you leave this area, specifically, Nighttime Bahamut, which will prevent you from obtaining the Crest until you lot defeat it (and it is extremely difficult to defeat).
Sun Crest now. A Dark Aeon will appear in Yunalesca's place once you leave this area, specifically, Nighttime Bahamut, which will prevent you from obtaining the Crest until you lot defeat it (and it is extremely difficult to defeat).
Do non leave this area without picking upwards the Sun Crest!
Go back downward the stairwell that was used to enter this room for another cutscene. This i involves Auron and Tidus in the Groovy Hall Dome. Save your game at the Relieve Sphere and then exit the Zanarkand temple.
Sin will appear seeming to effort to communicate with Tidus as yous go out the temple. After that, the Airship, Fahrenheit, volition approach. You can at present brand apply of the Airship and travel to various locations effectually Spira.
Note that Final Fantasy X has no overworld like previous Final Fantasy games did. Instead, you enter a destination in to the figurer and the Balloon will have you in that location.
Source: https://jegged.com/Games/Final-Fantasy-X/Walkthrough/28-Zanarkand-Ruins.html
0 Response to "Have to Watch the Whole Yunalesca Scene Again?"
Enregistrer un commentaire